Commercial Cleaning Winnipeg: Solutions for a Spotless Office
Wiki Article
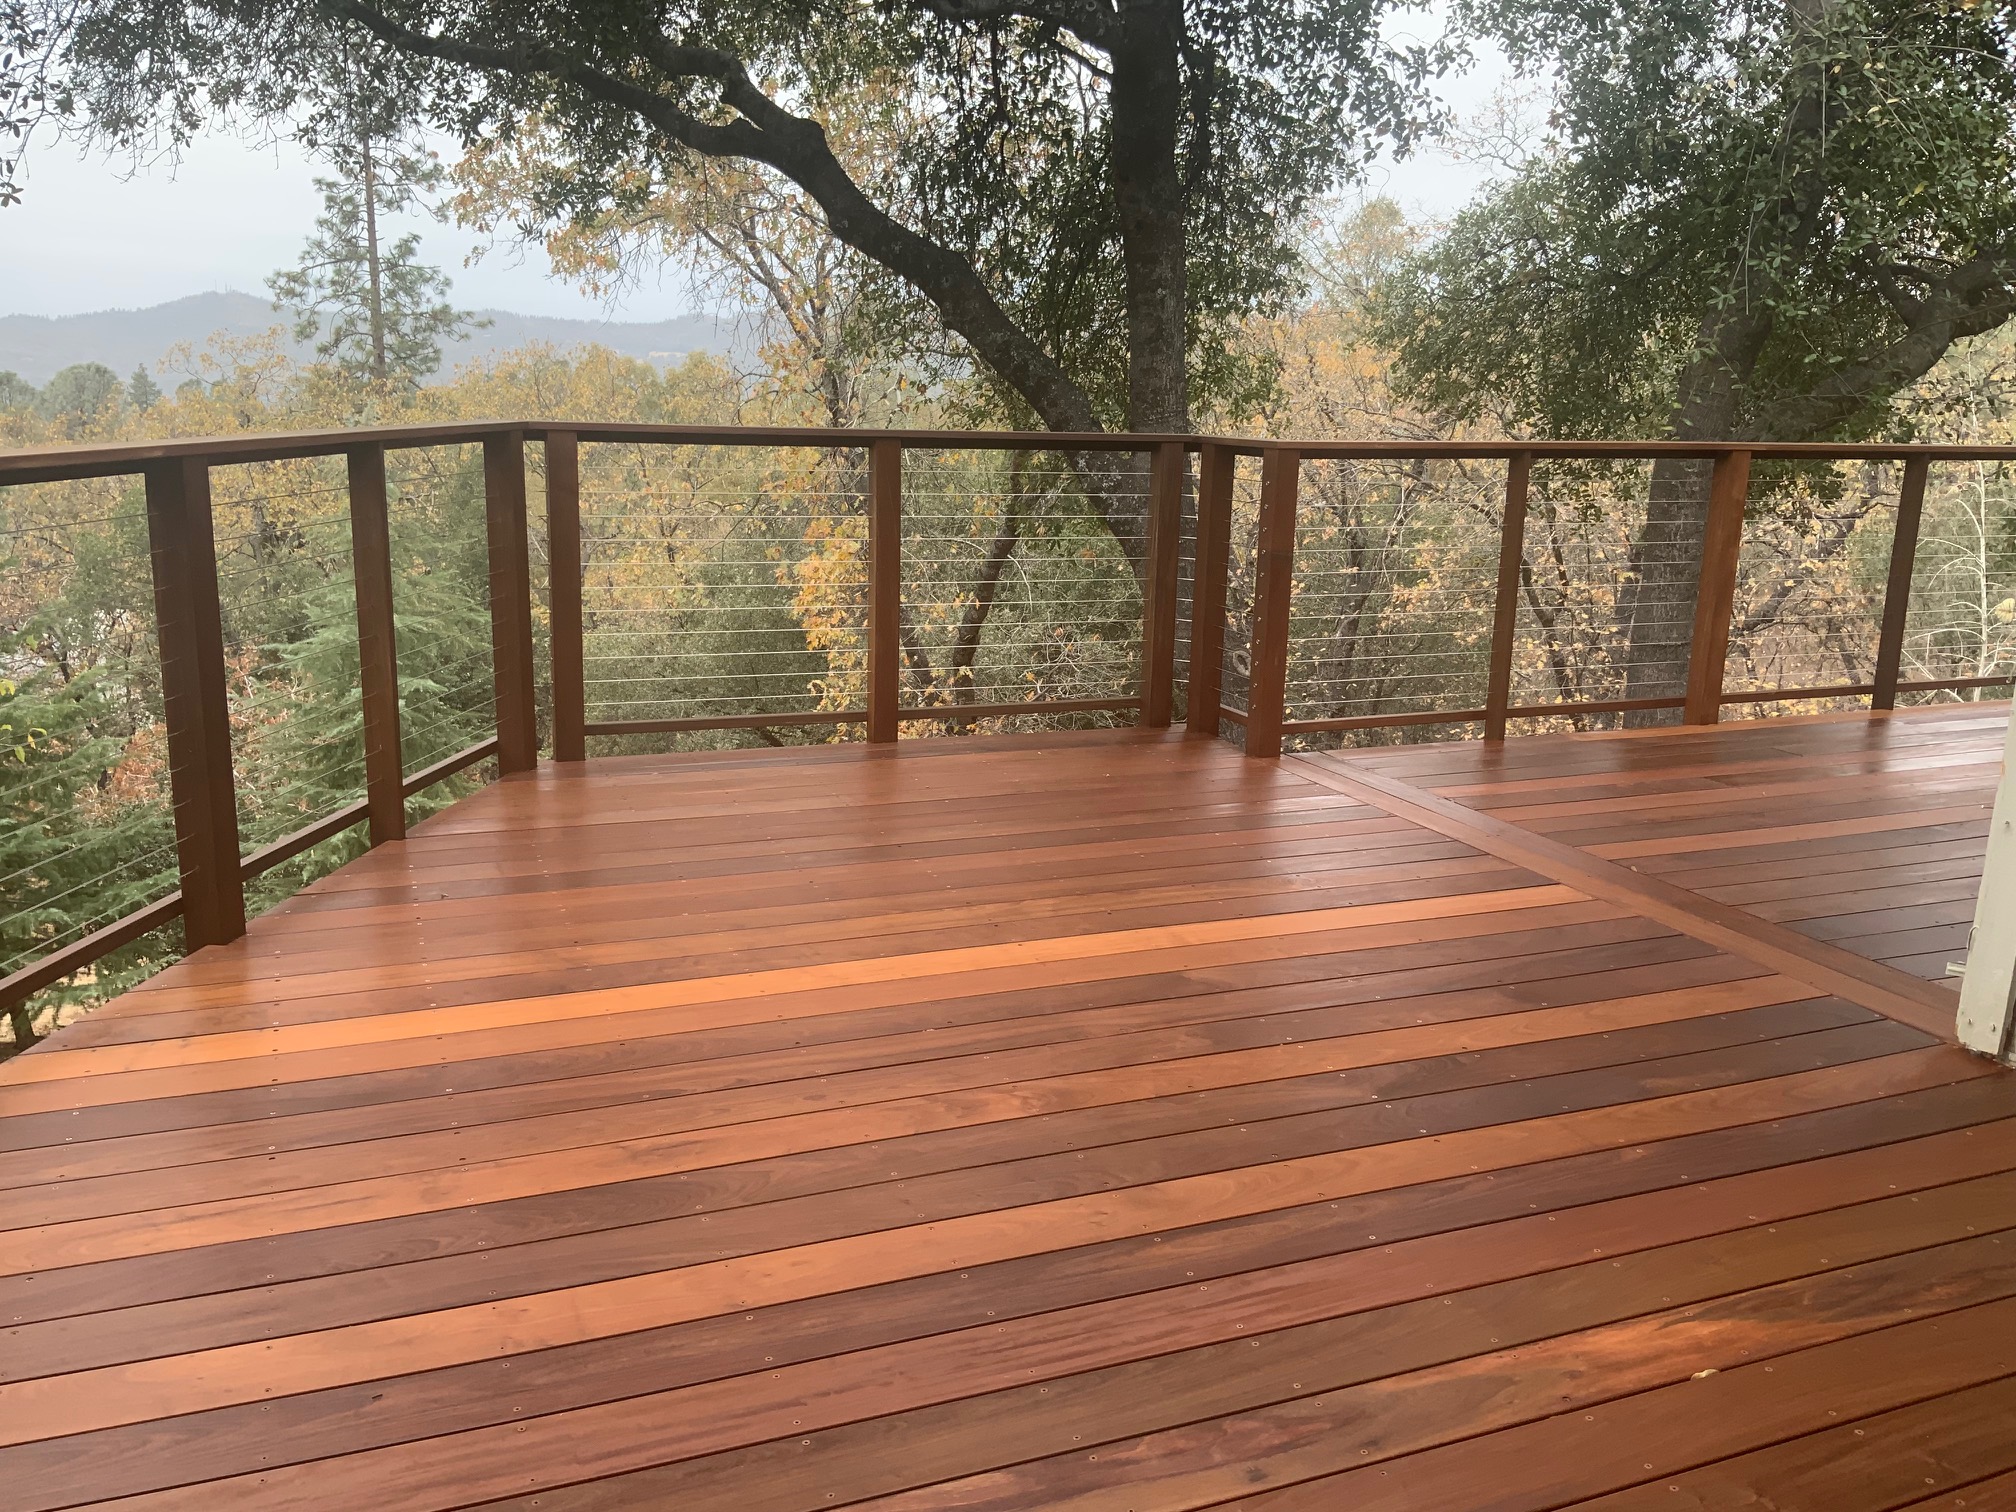
Deck Staining Made Easy: Step-by-Step Guide for DIY Enthusiasts
Are you a DIY enthusiast wanting to give your deck a fresh makeover? Look no more! In this step-by-step overview, we will walk you through the procedure of deck discoloration. From preparing the surface area to using the discolor, we have actually obtained you covered. With our easy-to-follow directions, you'll be able to change your deck into a stunning outside area quickly. Grab your devices and allow's obtain started!Preparing the Deck Surface
Prior to you start staining the deck, see to it you're effectively cleaning and also fining sand the surface. This step is crucial in making certain a smooth as well as resilient finish. Begin by eliminating any furnishings or plants from the deck. Sweep away any type of loosened dirt or debris making use of a broom. Use a power washing machine or a hose pipe with a high-pressure nozzle to extensively clean up the deck. Pay attention to areas with persistent discolorations or mold and mildew, and utilize a deck cleaner or a combination of warm water and moderate cleaning agent to treat them. After cleaning, enable the deck to completely dry completely for at the very least 24-hour.As soon as the deck is completely dry, it's time to sand the surface area. Get hold of a portable orbital sander or a fining sand block, and also begin sanding the deck boards in the instructions of the wood grain.
Choosing the Right Discoloration
When picking the appropriate stain, you'll intend to consider the sort of wood you're dealing with. Various kinds of wood have various qualities that can influence how well they soak up the tarnish. Softwoods, like yearn or cedar, tend to absorb tarnish more readily than woods, such as oak or mahogany. Keep this in mind when selecting your tarnish to ensure you achieve the wanted surface.Stains come in a range of shades, from light to dark, as well as can substantially change the look of your deck. If you're looking to boost the all-natural color of the wood, choose a clear or semi-transparent stain.
Last but not least, assume about the level of protection you want for your deck. Discolorations with higher levels of pigment have a tendency to give better security versus UV rays and wetness. If your deck is revealed to rough weather problems, it deserves purchasing a stain with added safety top qualities.
Cleaning and Repairing the Deck
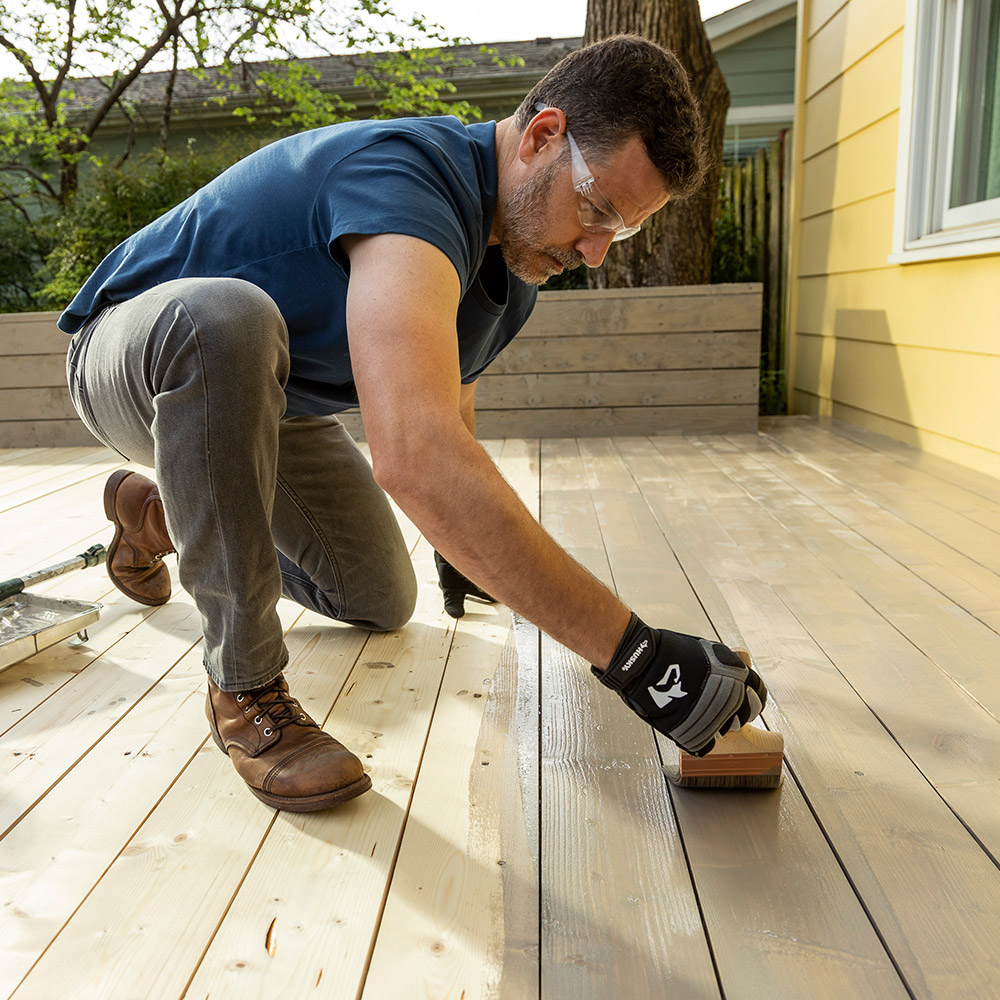
Using the Discoloration

Finishing Touches and Maintenance Tips
After applying the final layer of stain, it's crucial to frequently tidy and seal your deck to maintain its elegance and safeguard it from the elements. Pick a premium sealer that is particularly developed for decks as well as use it according to the supplier's directions. It's advised to explanation use a new coat of sealer every 1-2 years to maintain your deck looking its ideal.
Conclusion
Report this wiki page